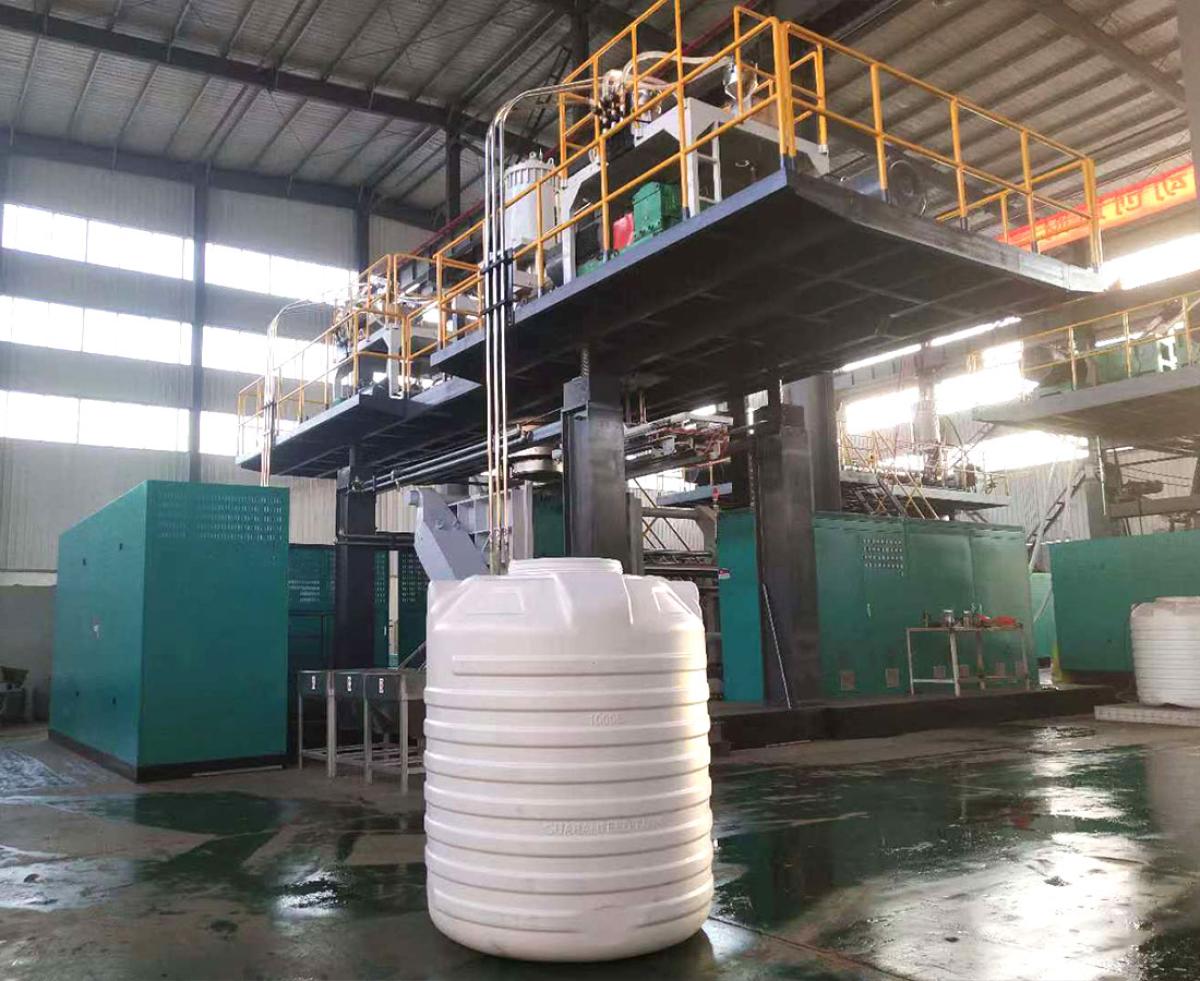
HDPE Blow Moulding Machine: Step-By-Step Guide For Easy Installation
Do you know how the precisely plastic bottles, containers, and tanks are created precisely? The high-density polyethylene (HDPE) blow moulding machine is widely used for manufacturing hollow plastic products of various shapes and sizes. However, if you want to use this machine, it is first important to understand how to install the machine. It is important for safe and efficient operations. Here are easy steps to understand the installation of the HDPE blow moulding machine.

Step 1: Check out the Space:
Before starting the installation process, first inspect the place where you are considering setting it up. The reason behind this is that the HDPE blow moulding machine is very heavy and requires a large space. You would not want to waste your money by investing in the machine without considering the fact that you have the required space for it. Also, keep in mind the following factors:
Keep a space of about 1.5 metres free for maintenance and heat release.
Provide access to water, compressed air, and electricity.
Ensure that the space is dust-free and has proper ventilation, so that there is no heat buildup.
Tip: The heavy-duty machine will vibrate a lot during the operations, and thus it is advisable to install the vibration-absorption pads.
Step 2: Inspect the Machine:
Now that you have inspected all the facts regarding the space, it is time to have a look at the machine. Once you unbox the machine, check every nook and corner for cracks or wear and tear, as there is a high chance of damage during the transportation process. You will find the machine disassembled and in different components, like the extruder, the moulding unit, and the control panel. Check the electrical connections, loose wiring, or leaks.
Step 3: Position the Machine:
It is time to position the machine! Carefully go through the manufacturer’s guidelines and use a crane or forklift to position each part of the machine. Ensure that the extruder barrel is properly aligned with the machine’s module. If you are unsure if you are going the right way with the machine installation, these tips could help.
Use the alignment tool (spirit level, laser level) to ensure proper leveling.
Secure the base of the floor, if recommended by the manufacturer
Make sure that the space is not congested and leaves space for proper cooling and material feeding.
Step 4: Connect Utilities:
Now that the machine components are assembled, proceed to connect the wiring/ utilities. It is an essential step, so read the user’s manual properly before moving ahead. The wrong connection can damage the system.
- Electrical:
Connect it to the power supply. Check whether it is getting the correct amount of voltage. Check for a proper grounding system so that there are no chances of short-circuits or electric shocks.
- Air Supply:
Connect the machine to the pneumatic system, which supplies compressed air. Also, make sure to install a moisture filter to prevent water from entering the machine’s system.
- Water Cooling:
Add a water inlet to the cooling section of the machine. Avoid the clean, low-mineral water to avoid scaling, or else it will lead to the creation of lumps.
Step 5: Set up the Mould:
The mould is the star of the machine. It determines what the final output would the plastic product would be like. So, be careful in its installation process.
- Open the clamp unit
- Place the mould onto the fixed and moving parts using the bolts.
- Connect the cooling water lines to the mould.
- It is essential, as only then will it be able to shape the object perfectly and create an error-free piece.
Tip: Before starting the operations, it is vital to check the mould once, whether it is functioning properly.
Step 6: Load the Raw Material:
The HDPE is in pellet form (solid, round, spherical shape), and it is loaded on the machine once the machine installation ends. Keep these things in mind:
- The pellets should be dry, so remove any moisture content.
- Add any color masterbatch or additives if needed.
- Fill the hopper with the raw materials and start the manufacturing process.
Last But Not Least…
Once all the major installation steps are completed, do a final setup test. It is essential to ensure that there are no mishaps in between the operations. So follow these steps for a safety and functionality check.
Safety Checks:
Check whether the emergency stop buttons are effective.
Inspect the guards and the safety locks.
The operator should be well-trained and should be able to regulate the machine.
Functionality Check:
Check the time and energy consumed during the operations.
Check stacking and ejection systems.
Review the logs, whether the machine has a real-time monitoring system to see whether the machine has registered any errors.
In Conclusion…
The HDPE blow moulding machine installation is not much of a task. You can easily do it without professional help if you go through the user’s manual carefully. This post has elaborated on the installation steps for the plastic products making machine in such an easy way that now the setup will be a cake walk. ‘AlliedWay India’ has been in the blow moulding machine-making business for years, and thus, they are experts in this industry. Their skilled engineers understand that the needs of each client are different, and thus they design even high-quality customized machines. These machines are efficient, durable, and in budget. So, get started!
