Mywifiext.net Vs 192.168.1.250: Which One Should You Use?

The Mywifiext.net and 192.168.1.250 both are the pathway to reach the Netgear extender setup page within your computer or laptop. It’s like Netgear extender’s routerlogin.net admin interface access procedure.
There is not much difference between them but there are a few. Here, we will explain how these two URL and IP address is different and why they are similar in several ways of comparison.
So, let’s begin this Netgear’s mywifiext.net vs 192.168.1.250 setup and troubleshooting tutorial.
Difference Between mywifiext.net & 192.168.1.250
Mywifiext.net – This is a local web address. It’s not some magical website on the internet. It's more like a shortcut. When you type this into your browser, it’s supposed to take you to the setup page of your Netgear WiFi extender. Think of it like a nickname your extender understands… but only under very specific conditions.
192.168.1.250 – This one’s an IP address. It’s direct. No middlemen. Your browser talks straight to the extender using this number. No DNS nonsense. No local network naming issues. Just raw, straight-to-the-device kind of talk.
Now, that you have know about what is mywifiext.net and IP address 192.168.1.250, you should know about there troubleshooting tips as well.
Why Mywifiext.net Sometimes Doesn't Work?
This is the biggest pain point.
You open Chrome, type in mywifiext.net and the screen shows “Server Not Found” or some other error message. And then you're stuck.
Here’s why that happens:
- Your extender isn’t connected properly yet.
- Your device is still using your main WiFi, not the extender’s.
- The DNS can’t resolve the name, because again — mywifiext.net isn’t a real
- website on the internet. It only works locally, and even then, only if you’re connected to the extender directly.
- Browser cache, firewall, or antivirus might also screw with it. Yep, even that can block local addresses sometimes.
And when it fails? You’re left wondering what you’re doing wrong. Spoiler: you’re not. It’s just finicky tech.
Why You should Use 192.168.1.250?
When you're done messing around and just want to get straight to the point.
If mywifiext.net fails, toss it out and try typing 192.168.1.250 into your browser. But — and this is important — you still need to be connected to the extender’s WiFi. Either wired (Ethernet) or wireless.
That’s the only way it’s going to work. Don’t bother trying from your regular home WiFi. Your router won’t forward the request to the extender.
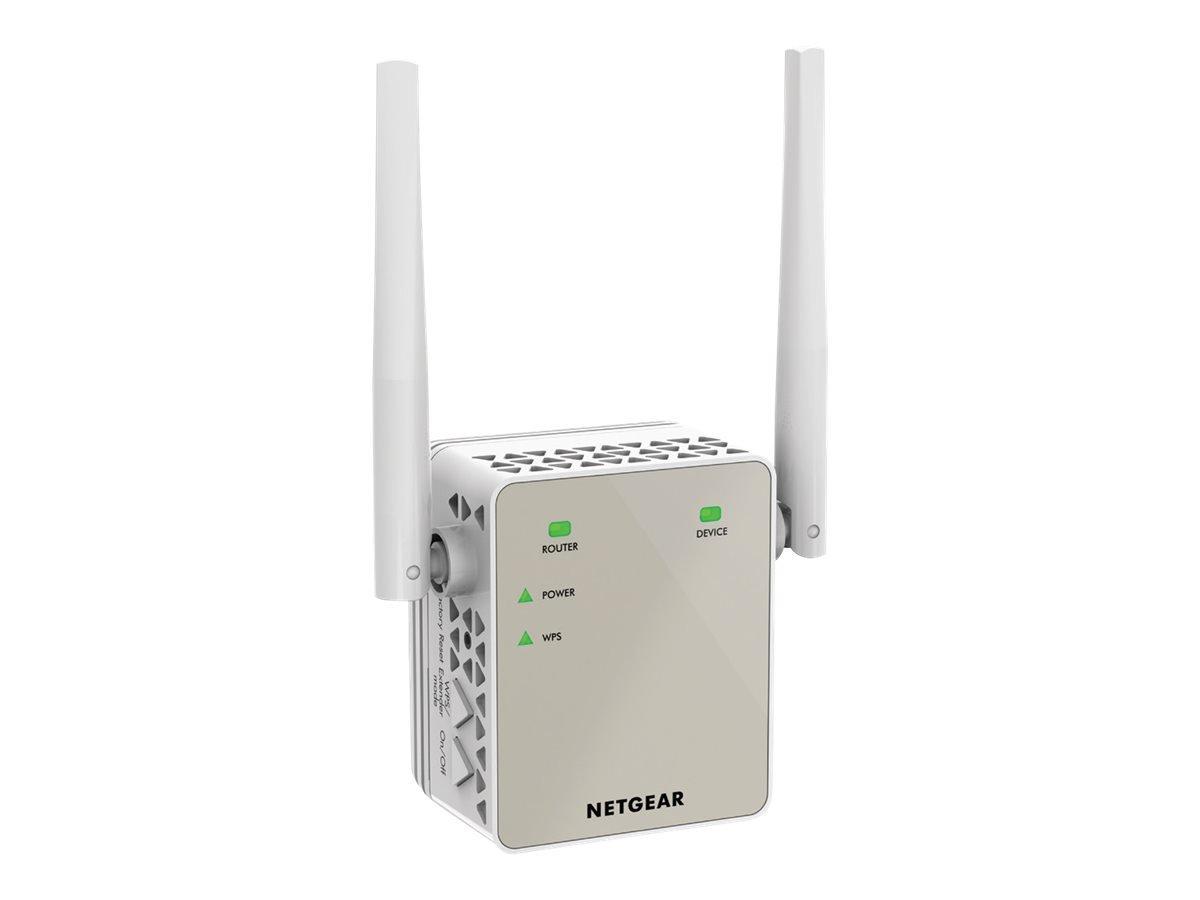
At first, just open WiFi settings, find the extender's network (NETGEAR_EXT), connect with it. Open up your browser and search the IP address of the extender.
Which One Should You Use?
Here’s the short answer:
Start with mywifiext.net – If it works, great. It’s easier to remember and type.If that fails, use 192.168.1.250 – It’s more direct, less prone to DNS or naming issues.
That’s it.
They're both take you to the same page on your computer.
Real Scenarios People Face
Here are the most common things I see people run into:
Trying to use mywifiext.net while on the main WiFi – Nope. Won’t work. You’ve gotta be connected to the extender itself.
Trying from a phone or tablet – It can work, but phones love to auto-switch to mobile data when WiFi is weak. Then the page fails. Turn off mobile data temporarily.
Using a VPN – disable it. For now. VPNs mess with local IP routing.
Antivirus or firewall acting up – Disable it temporarily if nothing’s loading. Just for the setup process. Then turn it back on.
Tips from Someone Who’s Set These Up Too Many Times
If both options fail, reset the extender. There’s a little pinhole reset button on most models. Hold it in for 10 seconds. Lights will blink. Start over.
Use a laptop or PC with Ethernet, if you can.
Don’t set it up too far from your router. Start close, then move it after it's working.
Once you’re in, update the extender’s firmware. Just make sure the firmware is not of older version.
End Thoughts
This is a perfect tutorial for those people who want to know which way is great to reach the mywifiext Netgear Genie interface to adjust the extender settings. hope, now they know about which pathway is perfect for accessing the Netgear extender device.