9 Easy Steps For Painting Your Nails Perfectly At Home
Are you sick and tired of spending lots of money at a fancy Nail Spa? Why waste time and money at a Nail Salon, when you can just paint your own nails at home? Not only is painting your own nails at home easy, but you can save precious time and money.
With that being said, let's dive into how you can perfectly paint your nails step-by-step at home. If you want to make things fun, call over a group of friends and let the manicures begin!
Here is a step-by-step guide for painting your nails perfectly at home:
1. Clean Your Nails With Nail Polish Remover
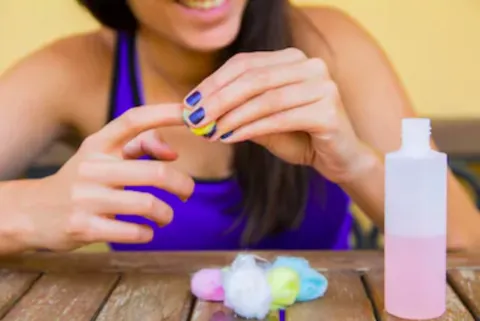
Cleaning your nails with a nail polish remover is an awesome way to prep your nails for a manicure. Nail polish removers, such as Sally Hansen's Nail Polish Remover, does a great job of getting rid of any old nail polish from a previous manicure. Despite the strong smell, nail polish removers also do a great job of removing nail gel or glitter from your nails pretty quickly.
With that being said, you should grab a couple of cotton balls, pour some nail polish remover onto the cotton balls, and remove any old nail gel or polish from your nails. Nail polish remover can also remove excess dirt found on your nails.
2. Push Back Your Cuticles With A Wooden Stick
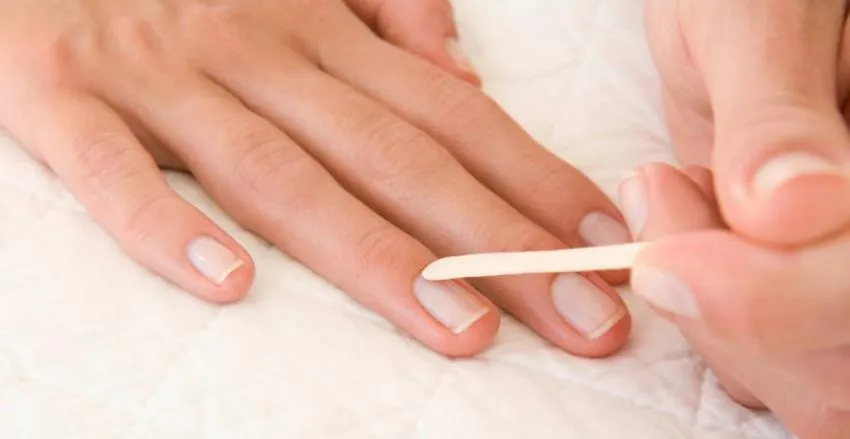
Now since you have cleaned your nails with a nail polish remover, you can use a wooden stick to gently push back your cuticles. When you gently push back your cuticles with a wooden stick, your nails will appear longer which leaves more room for you to paint your nails.
In order to do this, you can moisten your cuticles with a moisturizer before you decide to push your cuticles back. Moisturizing your cuticles can make pushing the cuticles back easier and a lot less painful.
3. Clip, File, And Buff Your Natural Nails
After cleaning your nails with polish remover and pushing back your cuticles with a wooden stick, you should clip, file, and buff your natural nails.
Clipping your nails with a nail clipper is an awesome way to prepare and shape your nails before a manicure. Clipping your nails is a great way to keep your nails even in length for painting your nails. Besides, trimming your nails can also maintain the health of them.
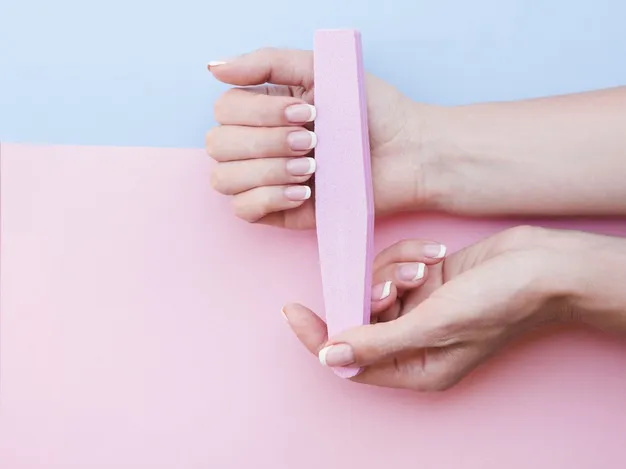
You should also file your nails with a nail filer in order to prepare and shape your nails for a manicure. Depending on the length of your natural nails, you can file your nails into an oval, square, or almond shape. Keep in mind, that there are plenty of other shapes you can try and shape your nails. Whichever shape you decide to file your nails into is totally up to you.
To add on, you can also buff your nails with a nail buffer block to give your nails a smooth and sheen look. Buffing your nails can also make painting your nails simple.
4. Apply A Base Coat To Your Natural Nails
Since you have finished with most of these steps in order to prepare your nails for a manicure, you should apply a base coat.
When applying a base coat to your natural nails, the application of the nail polish will be much smoother. A base coat can also extend the length time of your manicure.
5. Choose The Nail Polish Color You Desire
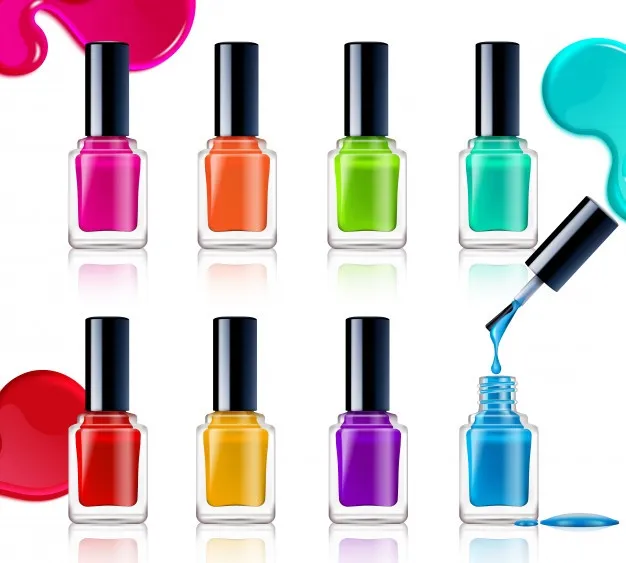
Since you have finished applying a base coat, you should pick a nail polish color you desire! Whether it's a nude color like beige, a vibrant color like yellow, a dark color like black, or a bold color like red, you should choose a nail polish color that you like!
If you want to switch things up, you can also choose two nail polish colors to polish your nails with.
6. Start Painting Your Nails and Allow Time To Dry
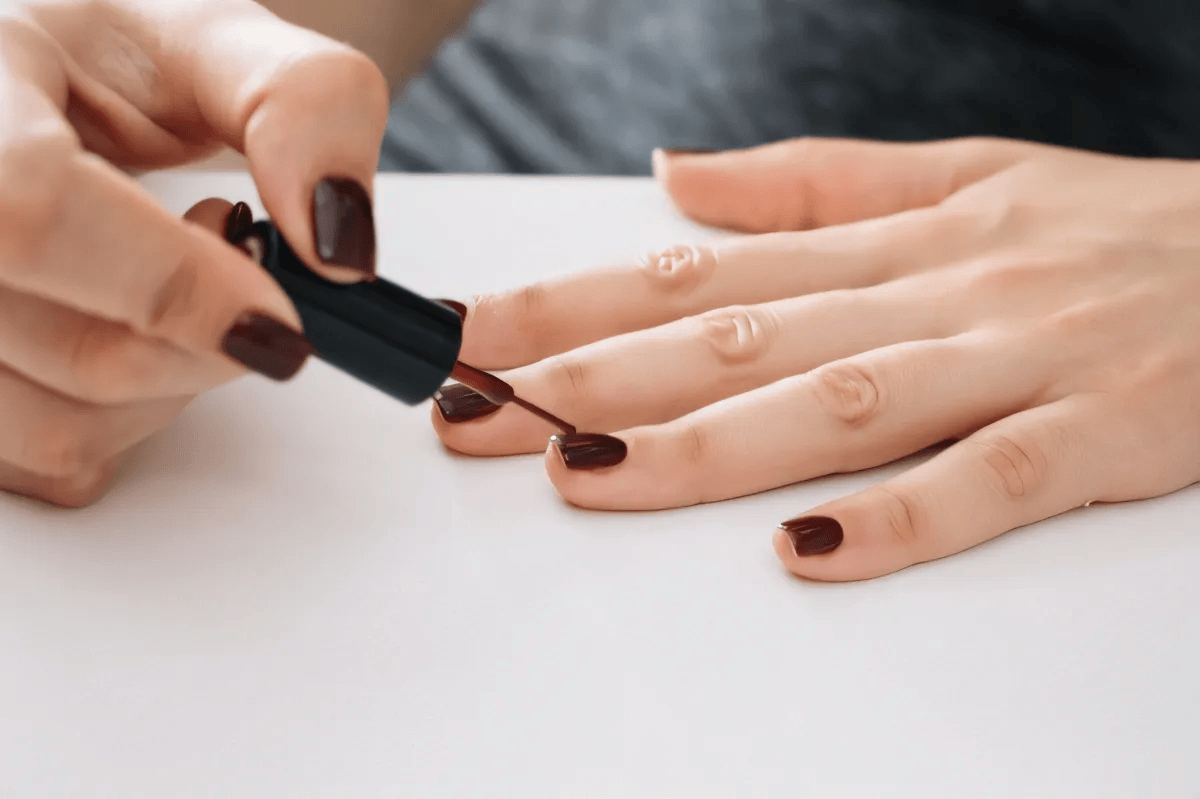
Woohoo! Since you have chosen your polish color(s), it's time for you to start painting your nails! When painting your nails, you should take your time polishing them. You should also use the right amount of polish when polishing your nails. You don't want to use way too much polish, or too little. Just the right amount of polish should do the job.
Use light, and gentle strokes. If you paint the outside of your nails, use some nail polish remover to remove the excess polish.
Once you have finished polishing your nails, you should give them at least 10 to 15 minutes to dry. If you want to be cautious, give it an extra 20 minutes.
7. Apply A Clear Top Coat Over Polished Nails
Once your nails have finished drying, you should apply a clear top coat to your nails. Applying a clear coat to your nails can give your polished look a wonderful shine! Applying a clear coat can also help your manicure last longer!
When you have finished applying a top coat, you can take a few extra minutes for the clear nail coat to dry.
8. Enjoy Your Newly Polished Nails
Now since your manicure is finished, you can enjoy any activity that you please! Besides, your nails look spectacular! This is a great time to snap some pictures of your brand new manicure and share them on your social media! Tag some friends and family members; who knows, maybe you'll gain some nail admirers!

9. Remove Your Nail Polish After A Week or Two
After a week or two, your fabulous manicure will start to peel off. When this happens, it is an awesome idea to remove your old polish with a nail polish remover. However, you can prevent your nail polish from peeling quickly if you touch up your nails with a clear coat every one or two days.
To conclude, polishing your nails at home is easy and most of all, affordable! Instead of wasting your money and precious time at a Nail Salon, you can give yourself a manicure at home!
As long as you take proper care of your newly polished nails, they will last for quite some time!
With these steps, you can always return and do your manicure at any time!
Opinions and Perspectives
Quick dry drops are worth mentioning. They've been a total game changer for me.
Has anyone tried gel polish at home? Thinking about investing in a UV lamp.
Definitely agree about the clear top coat. Makes everything look so professional.
Never thought about taking pictures for social media. Great idea for tracking progress!
The article makes it sound easier than it is. Still working on my technique.
The clean-up process is my least favorite part. Takes forever to get polish off my skin.
I've started using gloves for dishes and it's made my manicures last so much longer.
The article should mention how to prevent staining when using dark colors.
I actually enjoy the process of painting my own nails. It's become a form of meditation for me.
I find the whole process really therapeutic. Its become my Sunday evening ritual.
You can add a few drops of polish thinner to revive old polish. Works like magic!
The article should warn about using old polish. Mine always gets thick and stringy.
Practice makes perfect! My first attempts were awful but now I get compliments all the time.
Im not convinced about doing this at home. I've tried multiple times and it never looks professional.
Anyone else feel like their polish never dries as fast as the article suggests?
The wooden stick tip is great! I used to use metal tools and always damaged my nails.
I've found that thin coats work better than thick ones, even if you need more layers.
My secret is using a ridge-filling base coat. Makes everything look so much smoother.
I wish they'd mentioned how to deal with ridges in natural nails. Mine are so hard to paint smoothly.
Roll the polish bottle between your hands instead of shaking it. That prevents air bubbles.
I always end up with air bubbles in my polish. Even when I follow all these steps perfectly.
Just tried this method and my nails look amazing! The buffing step really makes a difference.
I never thought about doing manicure parties with friends. Such a fun idea for a girls night in!
Anyone else terrible at pushing back their cuticles? I always seem to hurt myself.
The article should mention that cheaper polishes often need more coats. I learned that the hard way.
I actually prefer doing my nails at home now. It's become my weekly self-care ritual.
These steps are helpful but they forgot to mention how important good lighting is. I always mess up in dim light.
The money savings are great, but I miss the hand massage at the salon. It's not the same doing it yourself.
I disagree about waiting 10-15 minutes between coats. I wait at least 30 minutes to avoid smudging.
Try applying some petroleum jelly around your nails before painting. Makes clean-up so much easier!
My issue is always getting polish on my skin. No matter how careful I am, it happens every time!
The article doesn't mention this, but I've found using cold water after painting helps the polish dry faster.
I thought the same at first, but once you get the hang of it, the whole process takes less than 30 minutes.
Am I the only one who thinks this is still too time-consuming? I'd rather pay someone else to do it perfectly.
Thanks for that tip! I've been doing it all wrong trying to move the brush around my fingers.
I find painting my non-dominant hand works better if I rest my elbows on a table and rotate the finger I'm painting instead of moving the brush.
Honestly, I still struggle with painting my right hand since I'm right-handed. Any tips for that?
The base coat tip is so important. I used to skip it and wondered why my polish chipped so quickly. Now my manicures last nearly two weeks!
I love doing my own nails at home! I've saved so much money since I stopped going to the salon. These tips are really helpful, especially the part about moisturizing cuticles before pushing them back.
